An Intro to Windows Socket (Winsock2) Programming 3
Error Checking and Handling
We'll first cover error checking and handling, as they are vital to writing a successful Winsock application. It is actually common for Winsock functions to return an error; however, there are some cases in which the error is not critical and communication can still take place on that socket. The most common return value for an unsuccessful Winsock call is SOCKET_ERROR, although this is certainly not always the case. When covering each API call in detail, we'll point out the return value corresponding to an error. The constant SOCKET_ERROR actually is -1. If you make a call to a Winsock function and an error condition occurs, you can use the function WSAGetLastError() to obtain a code that indicates specifically what happened. This function is defined as:
int WSAGetLastError (void);
A call to the function after an error occurs will return an integer code for the particular error that occurred. These error codes returned from WSAGetLastError() all have predefined constant values that are declared in either WINSOCK.H or WINSOCK2.H, depending on the version of Winsock. The only difference between the two header files is that WINSOCK2.H contains more error codes for some of the newer API functions and capabilities introduced in Winsock 2. The constants defined for the various error codes (with #define directives) generally begin with WSAE. On the flip side of WSAGetLastError(), there is WSASetLastError(), which allows you to manually set error codes that WSAGetLastError() retrieves. The following program demonstrates how to construct a skeleton Winsock application based on the discussion so far.
#include <winsock2.h>
void main(void)
{
WSADATA wsaData;
// Initialize Winsock version 2.2
if ((Ret = WSAStartup(MAKEWORD(2,2), &wsaData)) != 0)
{
printf(WSAStartup failed with error %ld\n, WSAGetLastError());
return;
}
// Setup Winsock communication code here
// When your application is finished call WSACleanup
if (WSACleanup() == SOCKET_ERROR)
{
printf(WSACleanup failed with error %d\n, WSAGetLastError());
}
}
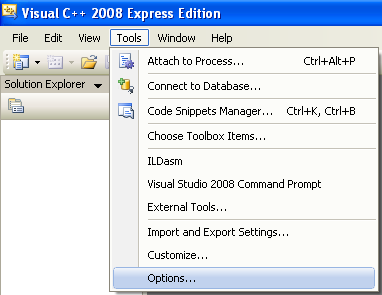
Let try this program using Visual C++ 2008 Express Edition. First and foremost let change the newly installed VC++ startup page to last loaded solution. You can skip this 'optional' step. Click Tools menu > Options sub menu.
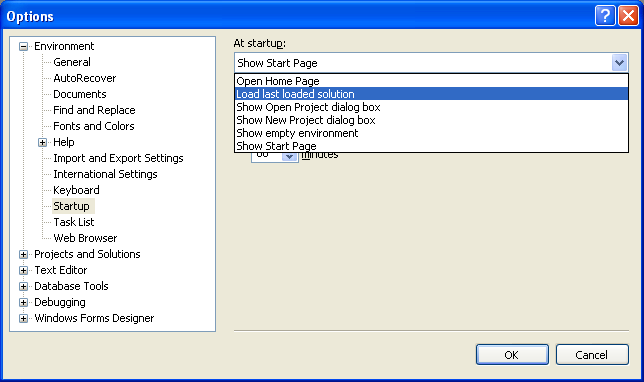
Expand Environment folder > Select Startup link > Set the At Startup: to Load last loaded solution > Click OK.
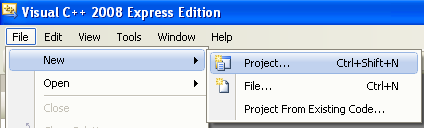
1. Then we can start creating the Win32 console application project. Click File menu > Project sub menu to create a new project.
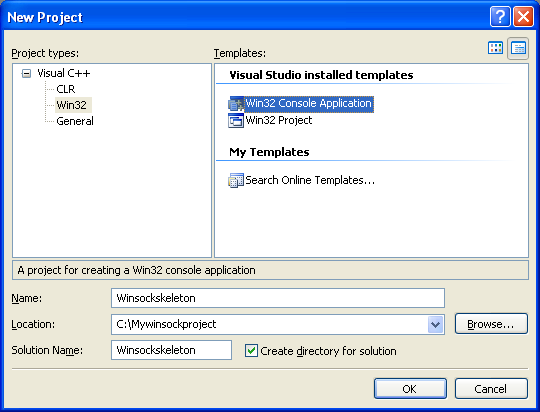
2. Select Win32 for the Project types: and Win32 Console Application for the Templates:. Put the project and solution name. Adjust the project location if needed and click OK.
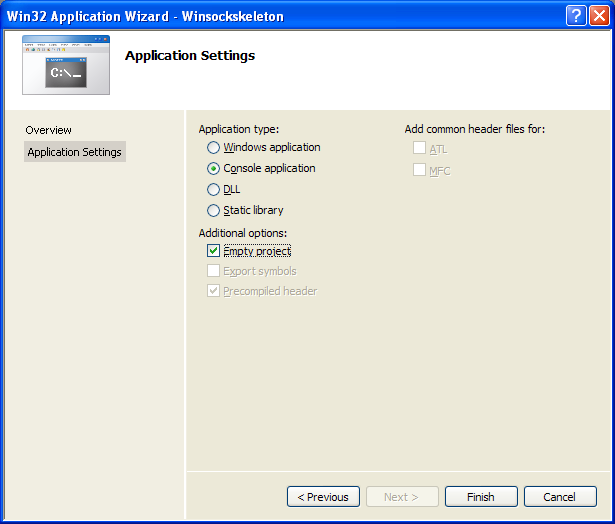
3. Click Next for the Win32 Application Wizard Overview page. We will remove all the unnecessary project items.

4. In the Application page, select Empty project for the Additional options:. Leave others as given and click Finish.
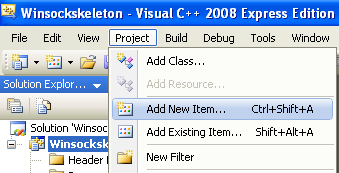
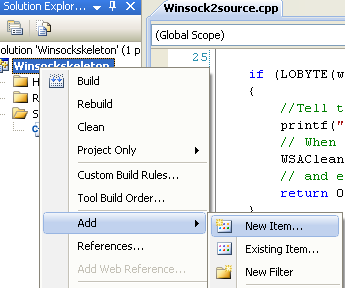
5. Next, we need to add new source file. Click Project menu > Add New Item sub menu or select the project folder in the Solution Explorer > Select Add menu > Select New Item sub menu.
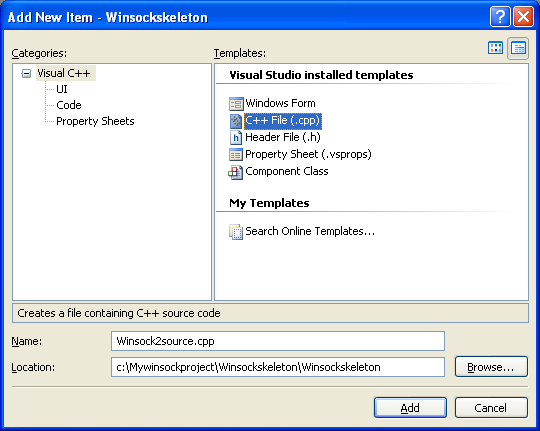
6. Select C++ File (.cpp) for the Templates:. Put the source file name and click Add. Although the extension is .cpp, Visual C++ IDE will recognize that the source code used is C based on the Compile as C Code (/TC) option which will be set in the project property page later.
7. Now, add the source code as given below.
#include <winsock2.h>
#include <stdio.h>
int main(void)
{
WSADATA wsaData;
int RetCode;
// Initialize Winsock version 2.2
if ((RetCode = WSAStartup(MAKEWORD(2,2), &wsaData)) != 0)
{
printf(WSAStartup failed with error %d\n, RetCode);
return 1;
}
else
{
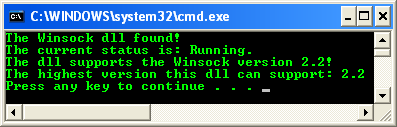
printf(The Winsock dll found!\n);
printf(The current status is: %s.\n, wsaData.szSystemStatus);
}
if (LOBYTE(wsaData.wVersion) != 2 || HIBYTE(wsaData.wVersion) != 2)
{
// Tell the user that we could not find a usable WinSock DLL
printf(The dll do not support the Winsock version %u.%u!\n, LOBYTE(wsaData.wVersion),HIBYTE(wsaData.wVersion));
// When your application is finished call WSACleanup
WSACleanup();
// and exit
return 0;
}
else
{
printf(The dll supports the Winsock version %u.%u!\n, LOBYTE(wsaData.wVersion),HIBYTE(wsaData.wVersion));
printf(The highest version this dll can support: %u.%u\n, LOBYTE(wsaData.wHighVersion), HIBYTE(wsaData.wHighVersion));
// Setup Winsock communication code here
// When your application is finished call WSACleanup
if (WSACleanup() == SOCKET_ERROR)
printf(WSACleanup failed with error %d\n, WSAGetLastError());
// and exit
return 1;
}
}
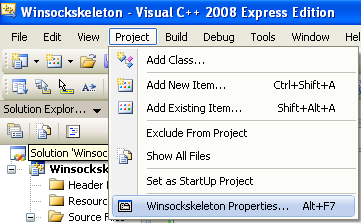
8. Before we can build this Winsock C Win32 console application project, we need to set the project to be compiled as C code and link to ws2_32.lib, the Winsock2 library. Invoke the project property page.
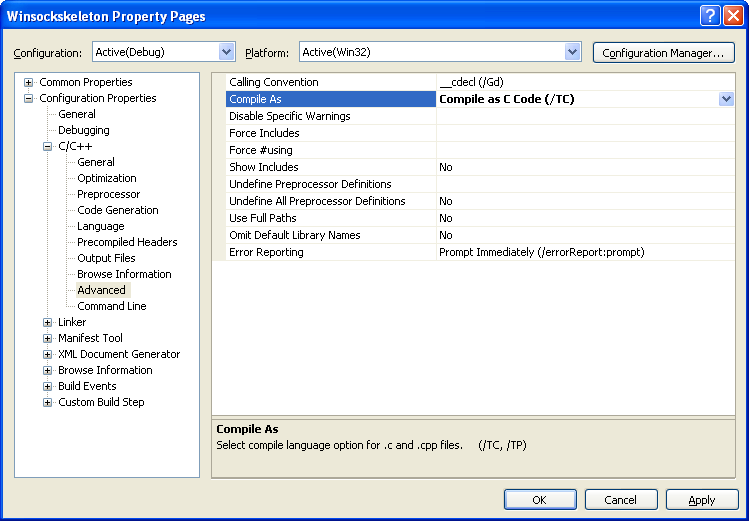
9. Expand the Configuration folder > Expand the C/C++ sub folder. Select the Advanced link and for the Compile As option, select Compile as C Code (/TC).
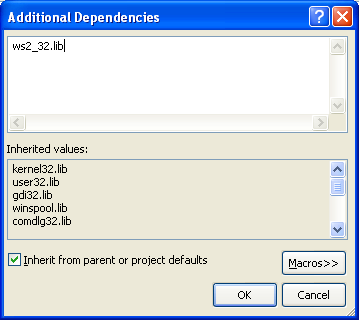
10. Next, expand the Linker folder and select the Input link. For the Additional Dependencies option, click the ellipses at the end of the empty field on the right side.

11. Manually, type the library name and click OK.
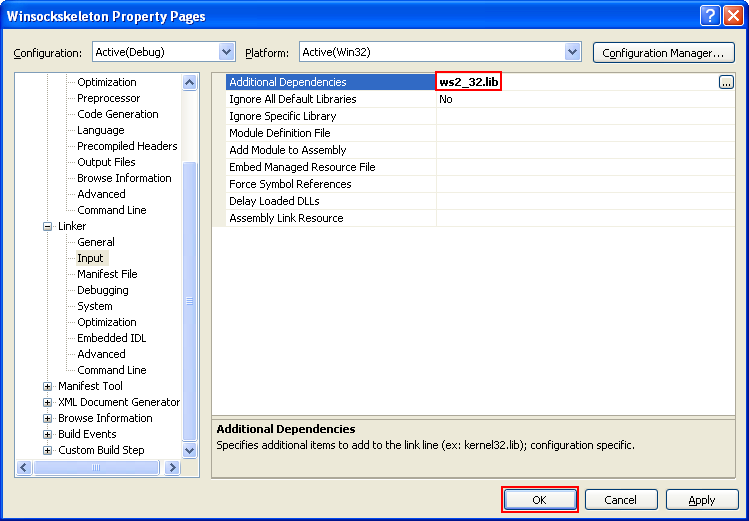
12. Or you can just directly type the library name in the empty field on the right of the Additional Dependencies. Click OK.
13. Or you just add the #pragma comment() directive as shown below at the top of the source code.
#pragma comment(lib, ws2_32.lib)
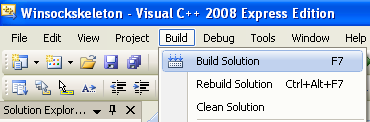
14. Build the project and make sure there is no error which can be seen (if any) in the Output window normally docked at the bottom of the IDE by default.
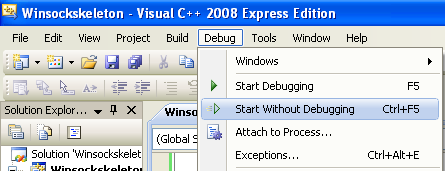
15. Run the project.
16. If there is no error, the following output should be expected.
Well, after completing this exercise you should be familiar with the steps to create an empty Win32 console application project. Those steps will be repeated for almost all the Winsock2 projects in this tutorial. Now we are ready to describe how to set up communication using a network protocol.
< Winsock2 2 | Windows Socket 2 (Winssock2) | Win32 Programming | Winsock2 4 >