Installing ReactOS 0.3.11 on VirtualBox 3.2.8 Part 3
|
|
Installing ReactOS on VirtualBox
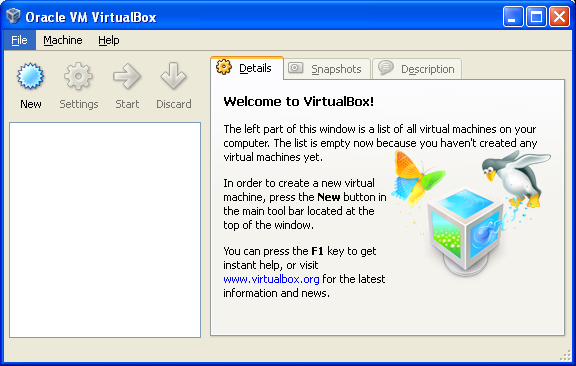
The next steps are installing ReactOS on VirtualBox. Launch VirtualBox and select New from File menu. The New menu will guide you on how to create new virtual machine, step-by-step process, interactively manner.
Or just click the New button.
|

Click Next for the Create New Virtual Machine welcome page.

Put the virtual machine name and the OS to be installed. In this case we put MyReactOS as the name and the OS is Other and the version is Other/Unknown.

You can choose Microsoft Windows for Operating System and Windows XP for the version. Either one as your chosen OS, click Next.

Next, set the amount of the base memory. In this case we just put 64MB. Click Next.

For the virtual hard disk image that to be used as the boot hard disk, we need to create new (virtual) hard disk because this is our first virtual machine. Click Next.

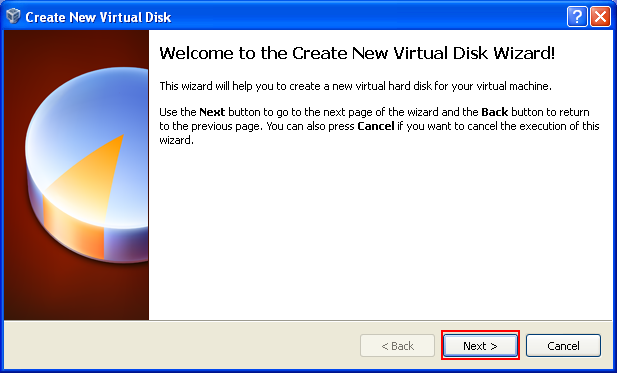
Now, the wizard is ready to create a new virtual disk. Click Next.
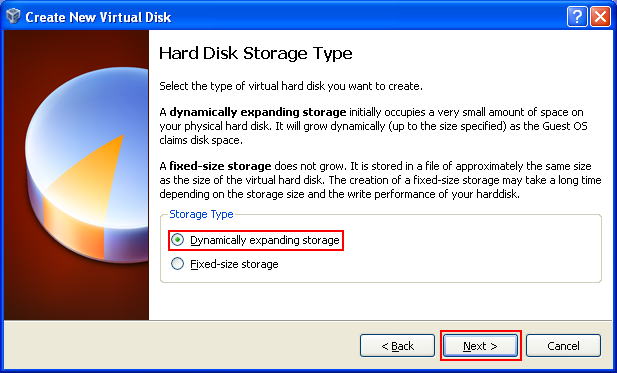
Select the disk storage type. In this case we select the dynamically expanding storage. The two types of hard disk storage are self-explanatory from the wizard page. Click Next.
Select the location (new file name) for the virtual hard disk or you can type new location as in this case. Then select the size of the disk. In this case we use 2 GB. Click Next.

Now the wizard is ready to create new virtual hard disk and virtual machine based on the settings that we have selected. Click Finish for confirmation on the configuration that has been chosen else you can hit the Back button to change those settings.

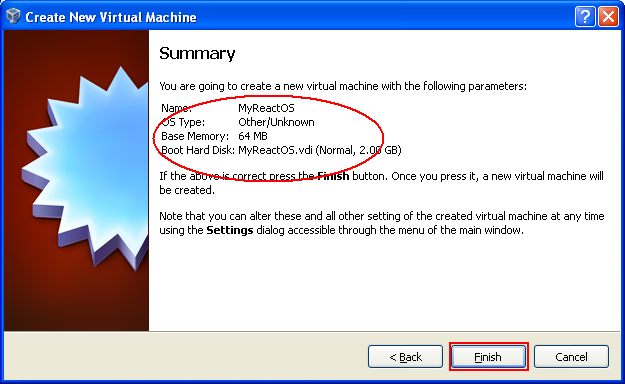
If there is no error, well, our virtual machine was created successfully.

The newly created virtual machine should be visible on the left pane. Next, start the virtual machine. Click the Start button.

The virtual machine should start. The host key is Right arrow + Ctrl keys which need to be used when you want to switch the mouse cursor and keyboard between host and virtual machine. Dismiss the information message by hitting OK button.

Next, we are ready to install ReactOS on this virtual machine. Click Next for the First Run Wizard welcome page.

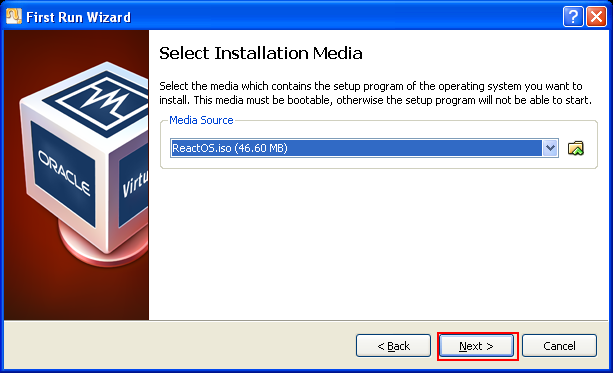
Select the installation media. Remember that we already have ReactOS.iso file on the host computer. So, select ReactOS.iso file.

If the file or installation media is not visible, use the browse button at the end of the field box to browse and select the ISO file. The, use the Add button to browse and select/add new CD/DVD images. Finally, select the ISO file and click Select button.

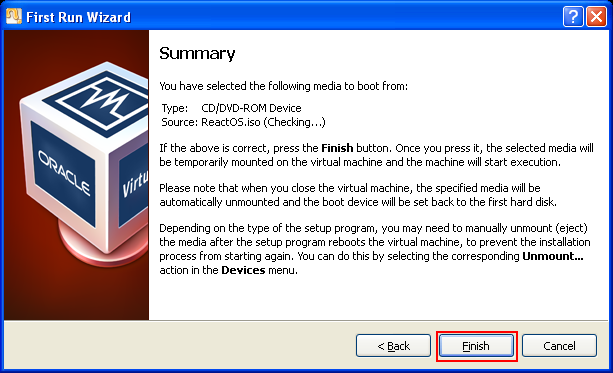
The selected ISO file should be visible as in the following screenshot. Click Next.
If the selected settings are correct for ReactOS installation, click Finish, else you can hit the Back button to change previous settings.