Debugging ReactOS 1
|
|
The topics covered in this session are:
The Environment Setup
The environment setup for this session consists of the following items:
Some Info on Serial Ports
In Windows like operating systems serial ports are named like COM1, COM2 and so on while in Linux they are named something like /dev/ttyS0, /dev/ttyS1 and so on. As a rule of thumb what will call COM1 in windows will be /dev/ttyS0, COM2 will be /dev/ttyS1 and so on. Even though the names are different they refer to the same Interrupt and IO ports and that’s how we map these names as summarized in the following Table.
|
|
Name Under Windows |
Name Under Linux |
IO Address |
Interrupt Request (IRQ) |
|
COM 1 |
/dev/ttyS0 |
0x3F8 |
4 |
|
COM 2 |
/dev/ttyS1 |
0x2F8 |
3 |
|
COM 3 |
/dev/ttyS2 |
0x3E8 |
4 |
|
COM 4 |
/dev/ttyS3 |
0x2E8 |
3 |
|
COMX |
/dev/ttySX |
… |
… |
|
… |
… |
… |
… |
Using Virtual Serial Port
This is the easiest method for receiving debug information from ReactOS. Virtual serial port is a very useful for machine that doesn’t have physical serial ports.
Serial Port
The serial port is the most common method used for receiving debug messages from ReactOS. The method used for receiving data from the serial port depends on whether you run ReactOS in a virtual machine or on a real computer. If you plan to use virtual machine, you might want to consider using Com0com (http://com0com.sourceforge.net/) instead of named pipe for connecting with virtual serial port.
Virtual machines
How to handle serial output from virtual machines can be found on the VM specific debugging pages: QEMU, VirtualBox or VMware. In this fun activities, we will use VirtualBox as the guest OS which ReactOS resides.
Com0com Virtual Serial Port
com0com is a free utility to create virtual serial port pairs which can be used to capture the debug output of ReactOS and direct it to a terminal program. Useful terminal programs that are able to get this output include:
- Hyper Terminal
- Teraterm
- Putty
- Hercules
- ReactOSDbg
Install Serial Virtual Ports Using com0com
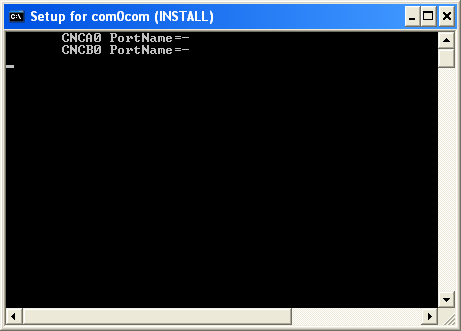
Download com0com and install it. It will automatically install a pair of default virtual COM ports CNCA0 and CNCB0 that are linked by a virtual null modem cable. You can optionally change the names and edit the settings with the GUI setup tool (setupg.exe). In this example they are named COM31 and COM32.
Connect the Virtual Machine to your first virtual port (COM31) and the terminal application to the second (COM32). The properties of the serial port (usually specified in the virtual machine), like the baud rate, are not important. Instead, be sure to select NO FLOW CONTROL, because otherwise the terminal app won't receive any characters. A complete step-by-step are shown in the following sections.
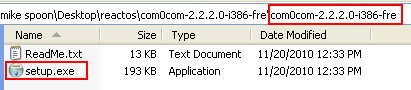
Firstly download com0com at: com0com. Run the Setup exe.
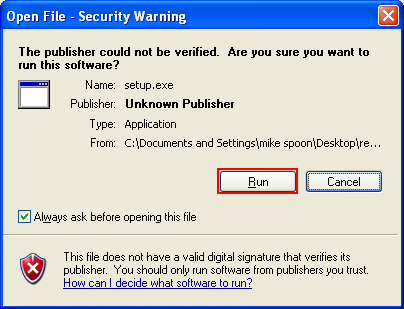
Dismiss Windows Security Warning.
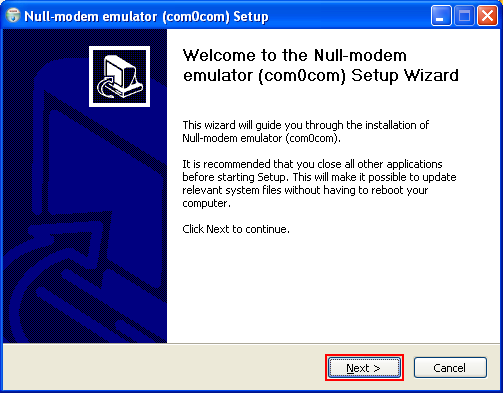
Click Next.
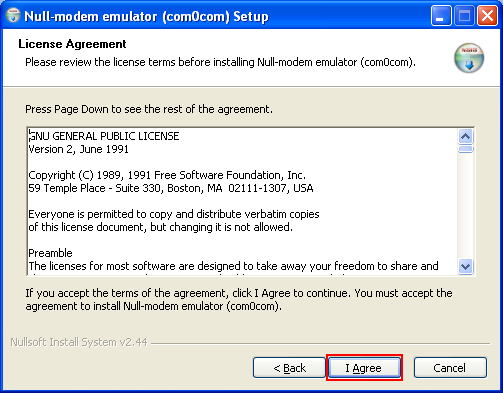
Accept the License Agreement by clicking the I Agree button.
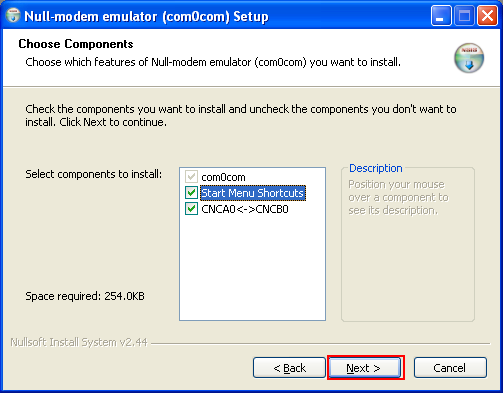
Select the components to be installed. In this case we select all components. Click Next.
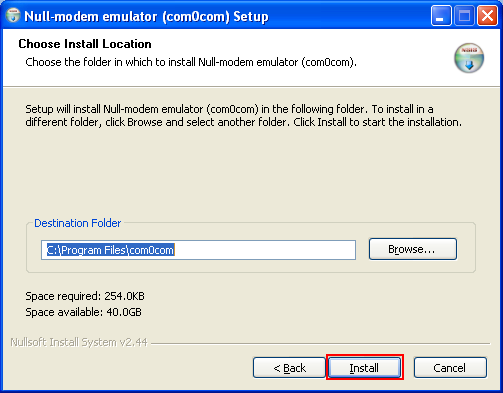
Select the installation destination if needed. In this case we accept the given location and click Install.
The installation should begin.
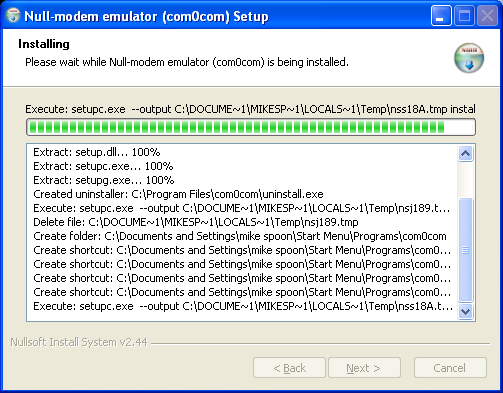
The following console will be splashed for a while.
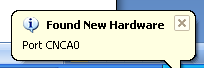
And also the following message.
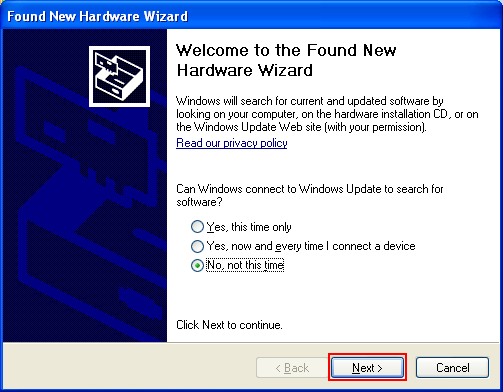
Then, the Found Hardware Wizard page will be displayed. Click Next.
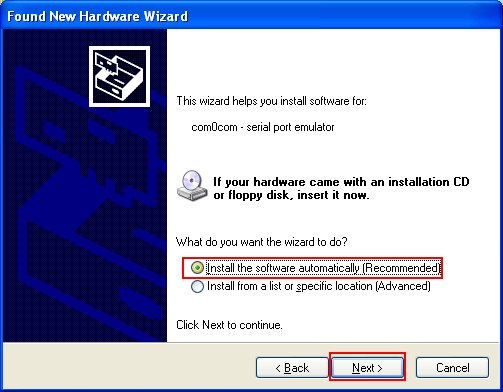
Select Install the software automatically (Recommended) and click Next.
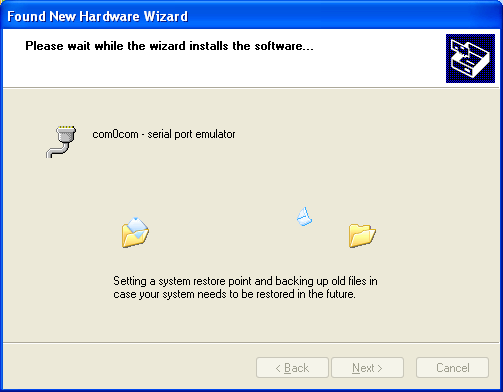
Please wait for a while.
Click Finish.
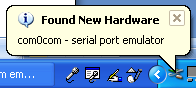
The second time Found New Hardware message displayed.
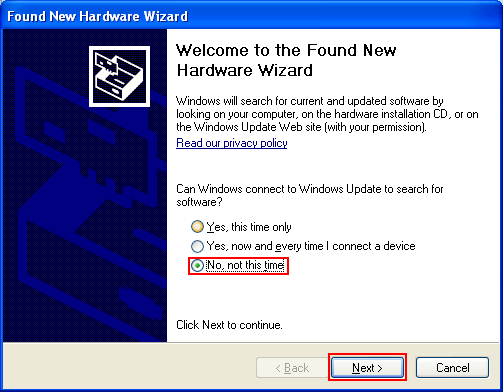
Select No, not this time and click Next.
Select Install the software automatically (Recommended) and click Next. Please wait for a while.

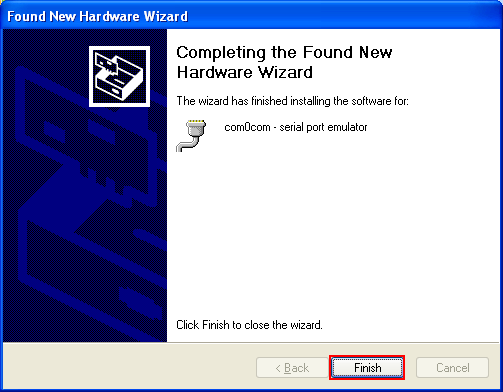
Click Finish.

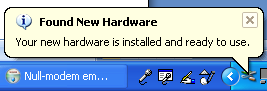
The emulated hardware is ready to be used.
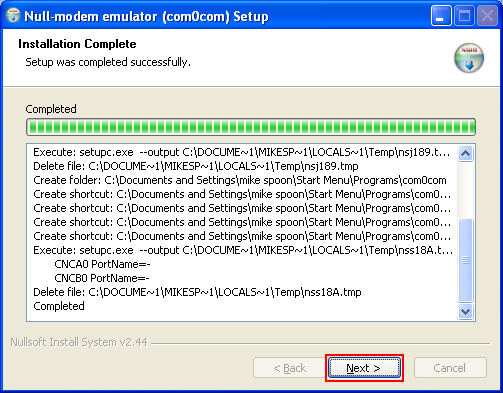
The following screenshot marks the successful installation. Click Next.